There's something about braiding your hair-it adds so much charm, dimension, and style to even the dullest of looks. Those pretty locks, however, come at a price. A price that your arms need to pay! Jokes apart, if you're one to let out a sigh of relief after braiding your hair, you're not alone. Whether it's Dutch, French, box, or Y2K, most of the time putting your hair into a braid can give 'arm day' at the gym a run for its money. That's when most people put their hands in the air, give up, and call it a day with a simple bun or ponytail hairstyle. Fret not! We've got you covered. For the times you really want to bring your braid A-game (but don't have the energy for an arm workout), these hairstyles have got your back. Scroll down to see some of the cutest, easiest, and coolest braided hairstyles that won't leave your arms feeling sore.
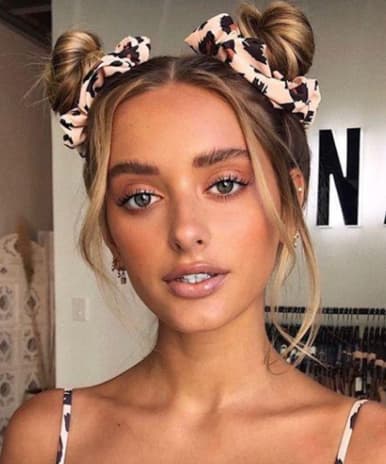
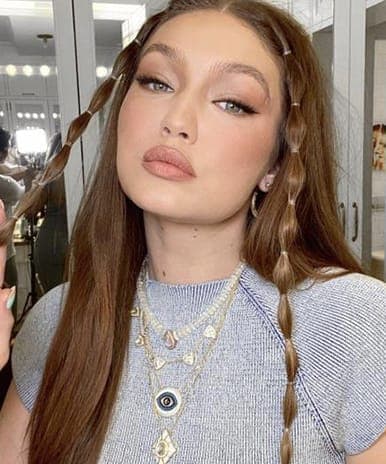
#1 - Three Braids & A Bun

Image courtesy - @lovehairstyles.com on Pinterest
This braided hairstyle may look and seem complicated, but it's rather easy to recreate. Giving your hair that boho-chic touch, this hairstyle is probably a great alternative to your basic topknot.
- Step 1: Brush out your hair and divide it into two sections-you want to create a half ponytail, so place the sections accordingly.
- Step 2: Pull the top section into a half ponytail and secure it with a hair-tie.
- Step 3: Take the end of the ponytail and create a normal loose braid. Once it's secure, tug on it to loosen the braids, and then wrap it to form a bun. Use loads of bobby pins to keep it in place.
- Step 4: Just below the bun, take three sections from the hair that's let loose and create three braids.
- Step 5: Finish off with Livon Shake & Spray Serum at the front of your hair-this'll keep any flyaways and baby hair away.
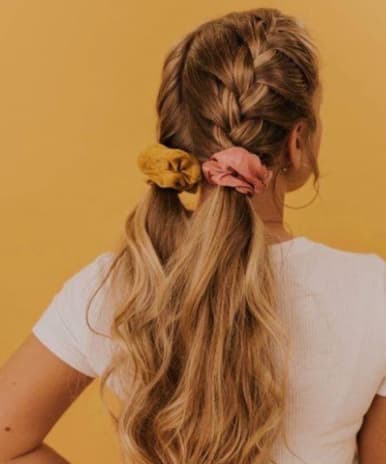
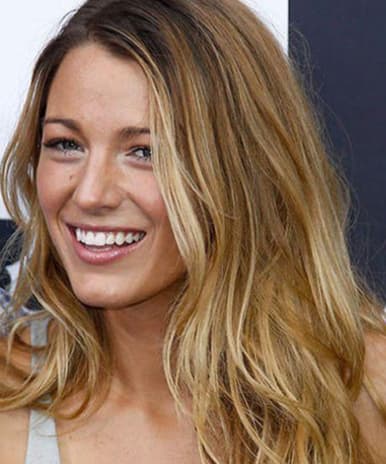
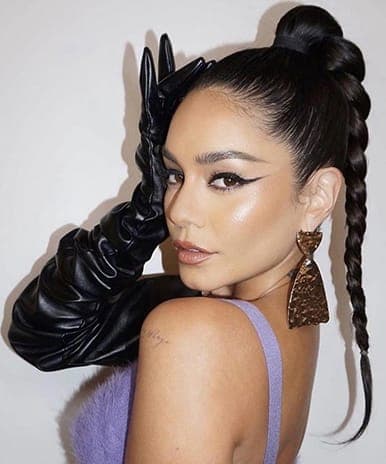
#2 - Tied In With A Scarf

Image courtesy - @society19 on Pinterest
Take your basic ponytail up a notch, with this tied-in scarf braided hairstyle.
- Step 1: Start by applying Livon Damage Protect Serum on to your locks, and divide it into three sections (bottom, middle, top).
- Step 2: Tong your hair to create soft, voluminous waves.
- Step 3: Once your waves are all set, part your hair in the centre and take a large section on each side.
- Step 4: Start creating a Dutch braid on the right section and move towards the crown. Make sure you add smaller sections of hair to the braid, as you move along. Secure with a hair-tie, the moment you reach the centre.
- Step 5: Repeat on the other side.
- Step 6: Join both braids together and secure them with a hair-tie. Run your fingers through the ponytail to volumise the waves some more.
- Step 7: Finish off by tying a pretty silk scarf into a bow. You can even tug on the braids to open them a little.
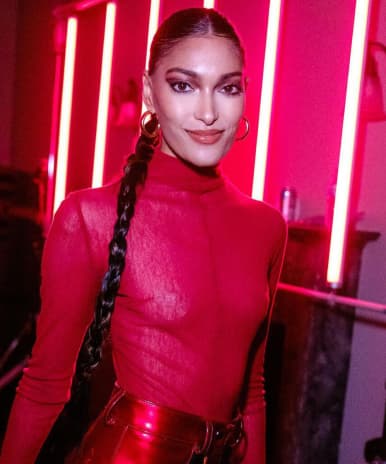
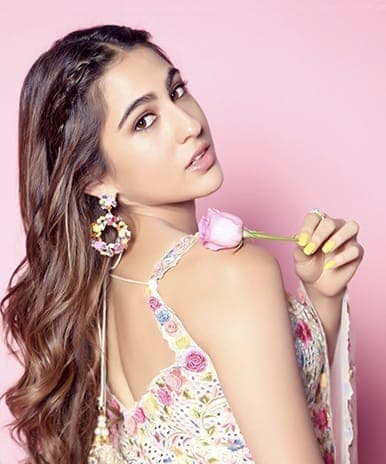
#3 - A Swift Ponytail

Image courtesy - @etsy on Pinterest
Have fun with this classic hairstyle, by putting a boho-chic spin on it. This twisted braid is definitely an easy, quick go-to, on the days you just don't have it in you to pull your hair up into a fancy and complicated braid.
- Step 1: Begin recreating this hairstyle by pulling your hair into a mid-ponytail. Before securing it, pull out a fairly thick section from the front (either left or right) and keep it aside.
- Step 2: Onto the section that we left aside-begin braiding it. The moment you reach the end, secure it with a fine hair-tie.
- Step 3: Now tuck the end of the braid into the ponytail so that it flows into the rest of the hair naturally.
- Step 4: Take a small section of hair from the bottom half of the ponytail. And braid away!
- Step 5: Finish off by wrapping a few strands of hair around the ponytail hair-tie, to conceal it in a more stylish manner.
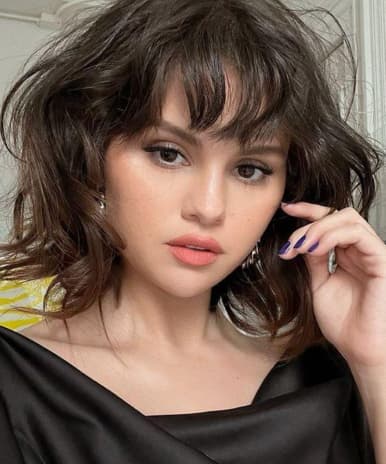
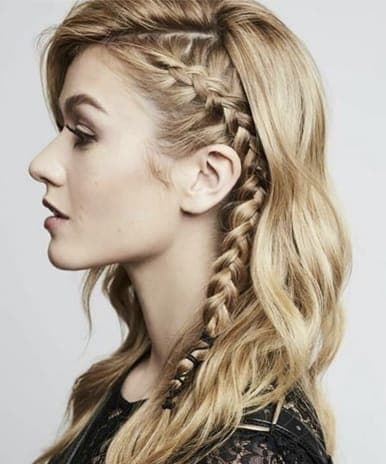
#4 - The Infinity Loop

Image courtesy - @bloglovin on Pinterest
Ever tried a low crown braided bun, but left it halfway because it was too complicated? Well, this hairstyle is an easy hack to achieve something that looks very similar to it.
- Step 1: Centre-part your hair and start creating pigtail braids on both sections.
- Step 2: Take the left braid and place it along the hairline just above your neck. Pin it in such a way that the braid sits in an 'S' shape.
- Step 3: Repeat step 2 for the right braid, but this time loop the braid into the left one. Secure with bobby pins.
- Step 4: Pull out a few strands of hair from the front of the face to soften the entire look!


.jpg&w=828&q=75)
